What are your bad crafting habits? Do you leave yarn tails all over? Do you start a project only to abandon it when you find something new and exciting to work on? I’m not going to confess all my crafting sins but one of my biggest (and most hated by my husband) is that I stick pins in the arm of the couch.
Yesterday I decided to change this. Here’s my solution:
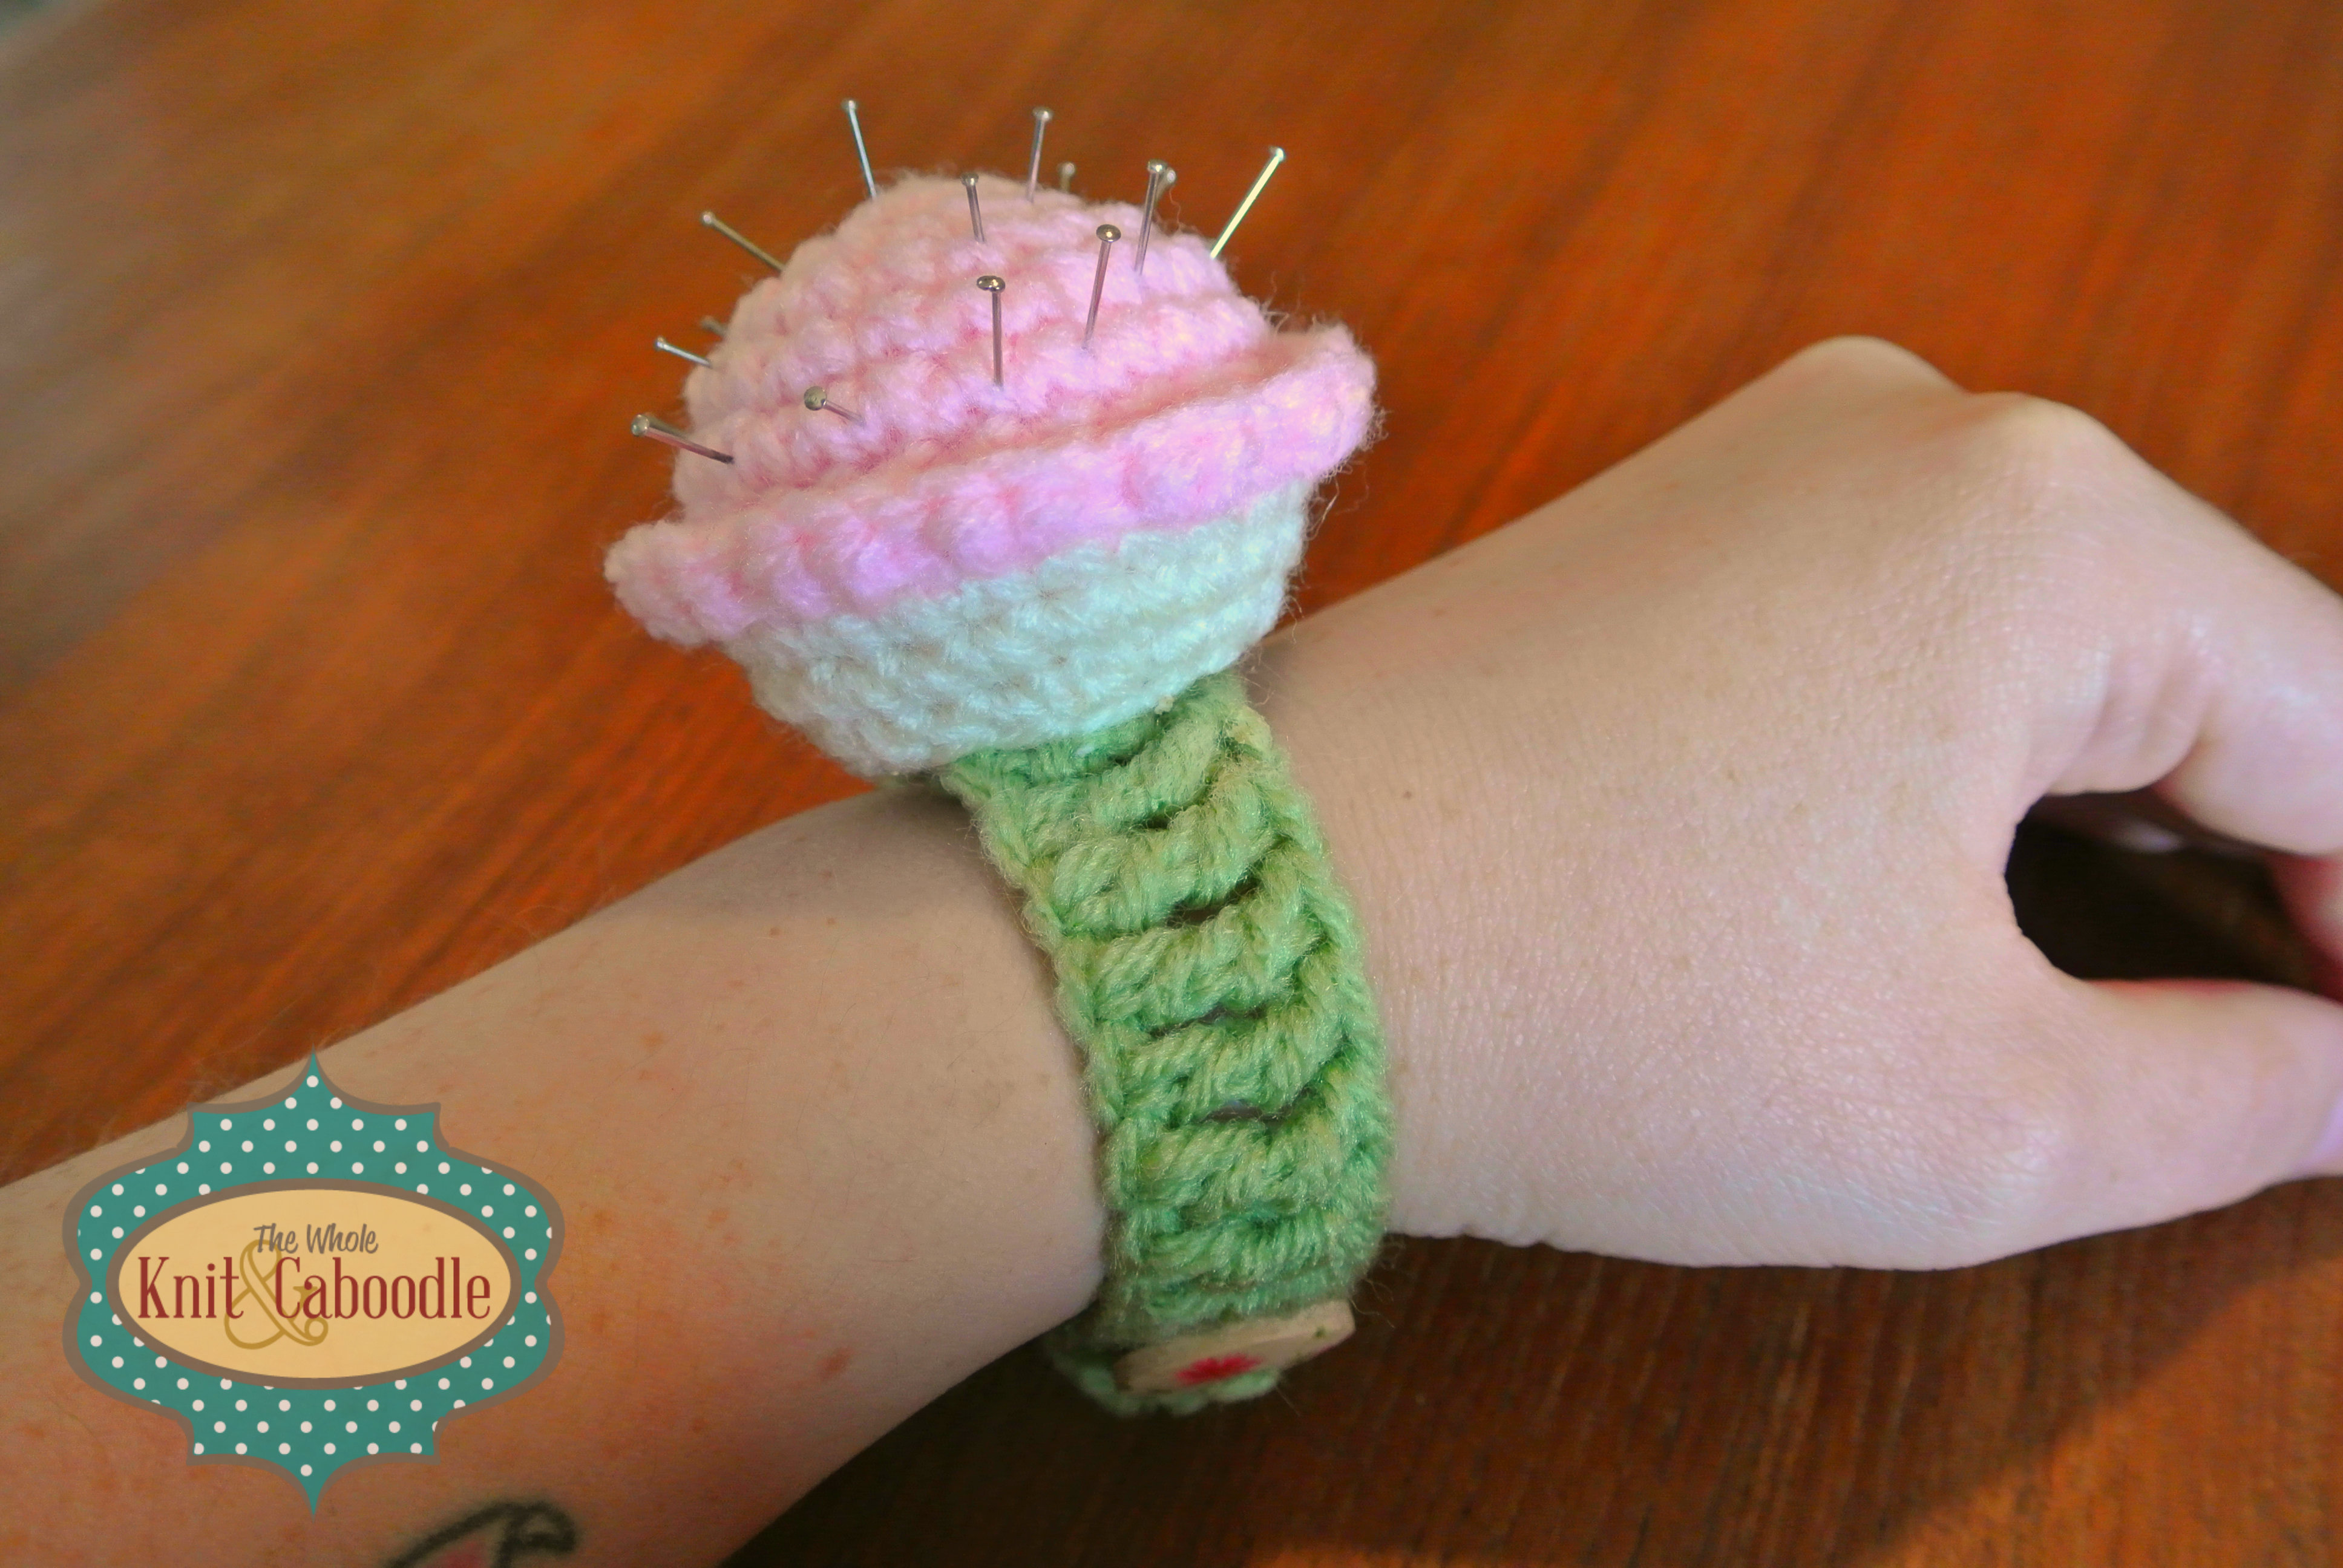
Cupcake Pin Cushion Bracelet
While I don’t see the cupcake bracelet catching on as a fashion accessory anytime soon, it’s perfect for keeping pins close at hand at wrist when you’re sewing or assembling a knitting/crochet project.
This is a great project to use up leftover yarn and it works up very quickly.
Here’s what you’ll need:
A size F5/3.75mm hook
Approx. 8 yds of worsted weight yarn in your choice of colour for the “”frosting”.
Approx. 4 yds of worsted weight yarn in your choice of colour for the cupcake bottom.
Approx. 6 yds of worsted weight yarn in your choice of colour for the bracelet.
A 3/4″ button
Yarn needle for weaving in ends
A small amount of polyester stuffing.
Gauge isn’t terribly important. Using a F5/3.75mm hook I ended up with a cupcake that is about 2 1/4″ wide and 1 1/2″ high.
Cupcake:
Rnd 1: Using frosting colour, make a magic circle. Ch 1. Work 6 sc in circle, pull tail to close circle tightly. (6)
Rnd 2: Work 2 sc in each st around. (12)
Rnd 3: *Sc in next st, 2 sc in next* repeat ** around. (18)
Rnd 4: *Sc in next 2 sts, 2 sc in next* repeat ** around. (24)
Rnds 5 & 6: Sc in each st around. (24)
Rnd 6: Ss in each st around. (24)
Rnd 7: (For each st of this rnd you will be inserting your hook up under both loops of the slip stitches from the previous rnd, NOT the single crochets into which you worked your slip stitches.) *2 sc in next st, ss in next* repeat ** around. Finish off, weave in end. (24 sc, 12 ss)
Rnd 8: Join cupcake bottom colour in any of the sc stitches from rnd 6. Ch 1 (counts as a sc). Sc in each st around. (24)
Rnd 9: Sc in each st around. (24)
Rnd 10: *Sc in next 2 sts, sc 2 tog* repeat ** around. (18)
Rnd 11: (Working in back loops only) *Sc in next st, sc 2 tog* repeat ** around. (12)
Stuff cupcake firmly.
Rnd 12: (Working in both loops). {Sc 2 tog} x 7. Finish off, weave in end. (5)
Bracelet:
With bracelet colour, ch until you reach desired length. I chained 34 and got a bracelet of about 7″.
Tr in 5th ch from hook and in each ch across. Finish off and weave in ends.
Sew bracelet to underside of cupcake.
Before attaching the button, stitch together two of the triple crochets at one end. This just reinforces the material beneath the button.
What I like about the bracelet is that it is adjustable- you just put the button through the spaces between the triple crochets and make it as tight or as loose as you’d like.
If you use pins with the coloured plastic ends, they look like sprinkles! 😉
I made a few cupcakes for my daughter (minus the bracelet and the pins), she loves them! They’re great “desserts” for tea parties!
**You are welcome to make and sell items from this pattern as much as you’d like, but please don’t sell this pattern or claim it as your own.**
*Pattern updated March 4/14 to correct error in round 10*
Copyright © 2013 Sarah Horrocks


